**PRIOR TO ENCRYPTION**: Device encryption requires the creation of a **recovery key**. If you are ever unable to log onto your device or your computer needs replacement, you will NOT be able to recover data from your disk without this recovery key. It is recommended you save it in multiple secure locations for future use. Helpdesk is not responsible for the storage of your recovery keys.
1. Open the Start Menu and search **Manage BitLocker**. [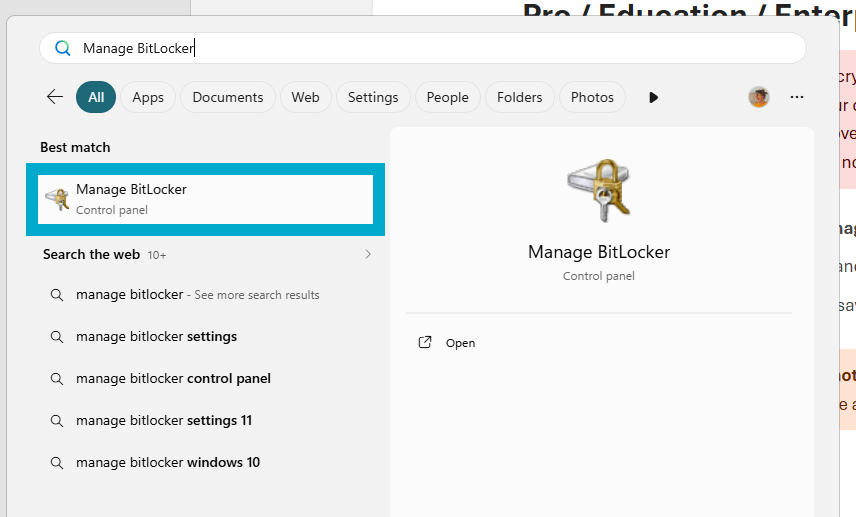](https://helpdesk.brynathyn.edu/uploads/images/gallery/2026-06/LGTimage.png) 2. Select the drive you want to encrypt and press **Turn on BitLocker**. [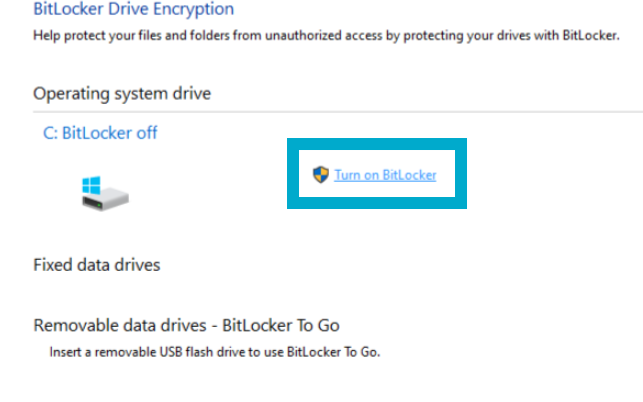](https://helpdesk.brynathyn.edu/uploads/images/gallery/2026-06/k27image.png) 3. Click **Back up your recovery key**. [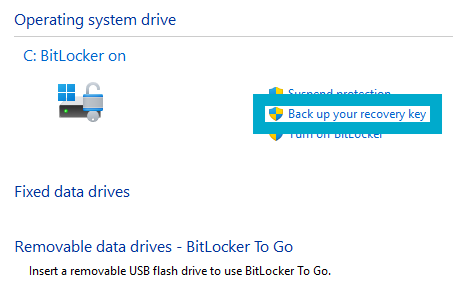](https://helpdesk.brynathyn.edu/uploads/images/gallery/2026-06/8V7image.png) 4. Click **Print the recovery key**. [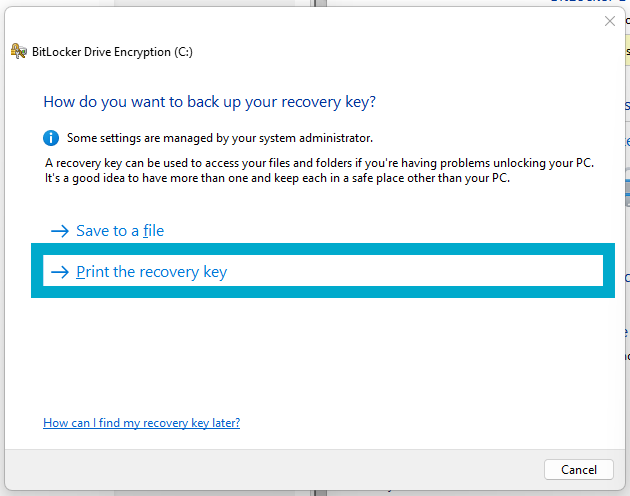](https://helpdesk.brynathyn.edu/uploads/images/gallery/2026-06/kKSimage.png) 5. Click **Microsoft Print to PDF**, then click **Print**. [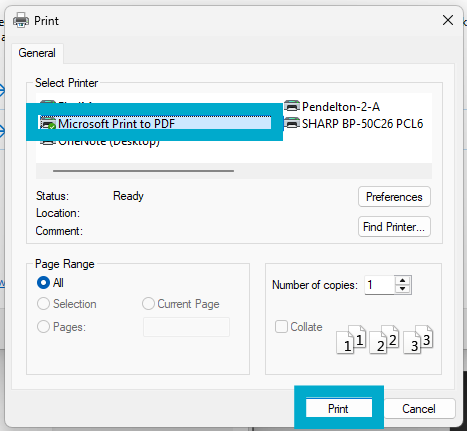](https://helpdesk.brynathyn.edu/uploads/images/gallery/2026-06/BqAimage.png)It is important that the PDF created is **not saved locally**. If BitLocker triggers and locks your encrypted drives, you will not be able to access any local files.
6. Click **Encrypt entire device**. 7. Select **New encryption mode**. 8. Restart your computer. ### Home Edition Windows Home uses BitLocker, however the user interface is significantly simplified. See [this guide](https://www.tech2geek.net/how-to-enable-encryption-on-windows-11-home-device-encryption-guide/) for instructions on how to encrypt your Windows Home device.If you forget your password, you will need this key to access your files.
7. Apple can also store they key, in case you lose your password and all other backups. 8. Restart your computer.Switching from your browser password manager(s) to Bitwarden is quick and simple. Instructions for this are at the bottom of the page. [Take me there!](#bkmrk-transferring-your-pa "Importing your Passwords")
## Setup 1. Go to [https://bitwarden.com/](https://bitwarden.com/) 2. Click on the **Downloads** tab at the top of the page. [](https://helpdesk.brynathyn.edu/uploads/images/gallery/2026-06/Ympimage.png) 3. Download and install the desired version of Bitwarden (we recommend you start with the desktop application). The available versions are: 1. **Browser extension**—useful for auto-filling usernames and passwords online [](https://helpdesk.brynathyn.edu/uploads/images/gallery/2026-06/SmMimage.png) 2. **Desktop application**—useful for filling in credentials in non-browser applications faster [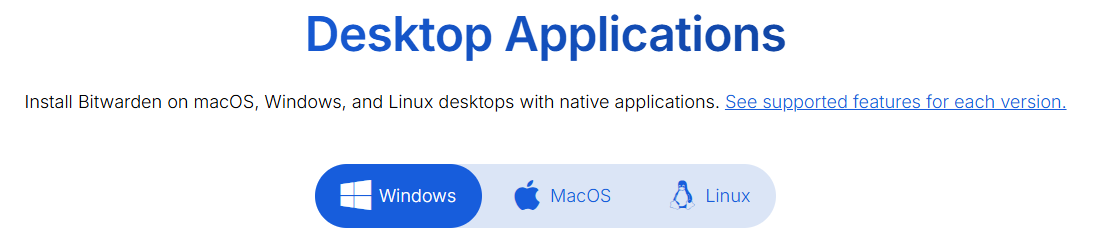](https://helpdesk.brynathyn.edu/uploads/images/gallery/2026-06/iyjimage.png) 3. Bitwarden is also available as a mobile app for use on the go, as well as being viewable as a normal website. 4. Find and open the version of Bitwarden downloaded. 5. Click on **Create Account**. [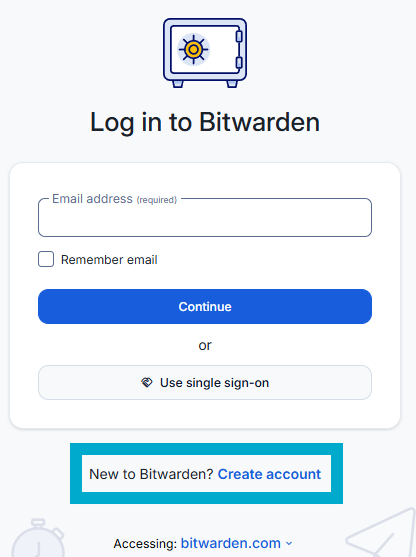](https://helpdesk.brynathyn.edu/uploads/images/gallery/2026-06/DUKimage.png) 6. Fill out the information on the screen and click **Continue**. [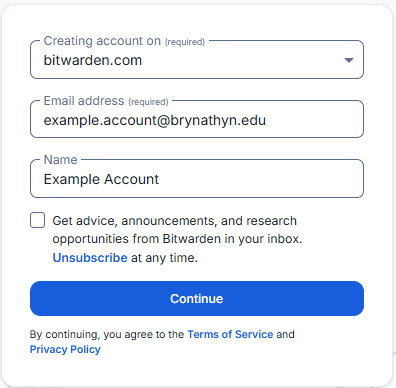](https://helpdesk.brynathyn.edu/uploads/images/gallery/2026-06/tavimage.png)If you forget your master password, you will NOT be able to access your vault. Neither the Helpdesk nor Bitwarden support can help you get back into your account.
1. You will now be able to log in on the main page. 7. Once in, click **+ New** to add a new login (desktop application pictured, however this should be evident on all platforms). [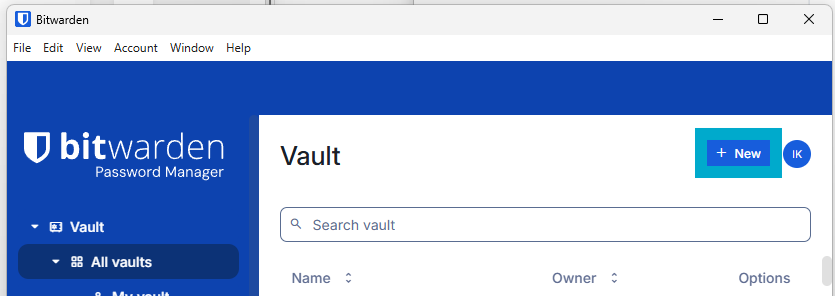](https://helpdesk.brynathyn.edu/uploads/images/gallery/2026-06/Gf9image.png) 8. Store various passwords by filling out the **Name**, **Username**, and **Password** fields. 1. You can include the URL and any notes related to the account/log in. 2. You will be able to either right click on the entries or select the clipboard icons next to them when you need to copy/paste your password over. 3. You can also store things like debit or credit cards and use Bitwarden to securely auto-fill them in various websites or apps. 9. Once you have, say, the desktop version installed, we recommend installing the browser extension and mobile app. Once you log in with the account you created, all of your passwords will appear and be accessible just like that. There are also paid versions of Bitwarden that are available for both individual use and sharing either with one person or family. This can allow you to share passwords and access other premium features like MFA. More details can be found at this link: [https://bitwarden.com/pricing/](https://bitwarden.com/pricing/) ## Transferring your Passwords Passwords saved in your browser can either be easily exported, then imported into Bitwarden; or even more easily imported straight from Bitwarden (depending on where you want to export them from). To do so: 1. In the Bitwarden desktop application, click the **Import** button on the left side of the main screen. [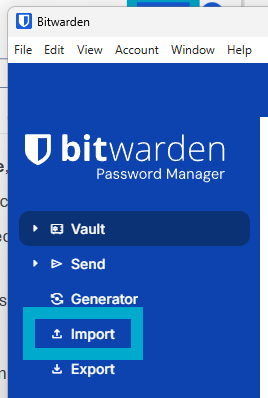](https://helpdesk.brynathyn.edu/uploads/images/gallery/2026-06/L9Simage.png) 1. This option should also be available in any version of Bitwarden (browser extension, mobile app, etc.), but instructions provided here are just for the desktop version. 2. Select a folder for passwords to be imported into if you have one prepared. 3. Under **File format**, select the location of the passwords you exported from. [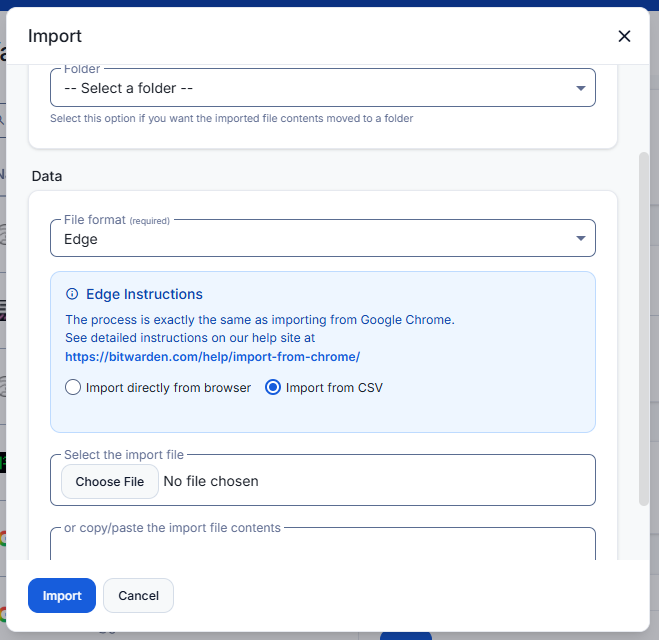](https://helpdesk.brynathyn.edu/uploads/images/gallery/2026-06/t16image.png) 4. Follow the instructions that appear for the location you selected. 5. Click **Import**. 6. If you have passwords stored in multiple browsers or accounts, repeat for each browser/account you have used.Congratulations, your passwords are safely and conveniently stored in Bitwarden!