
CollegeWiFi
CollegeWiFi is the default for connecting your personal and work devices to Wi-Fi. Make sure you know your username and password before starting. What is my Username and Password?
Windows
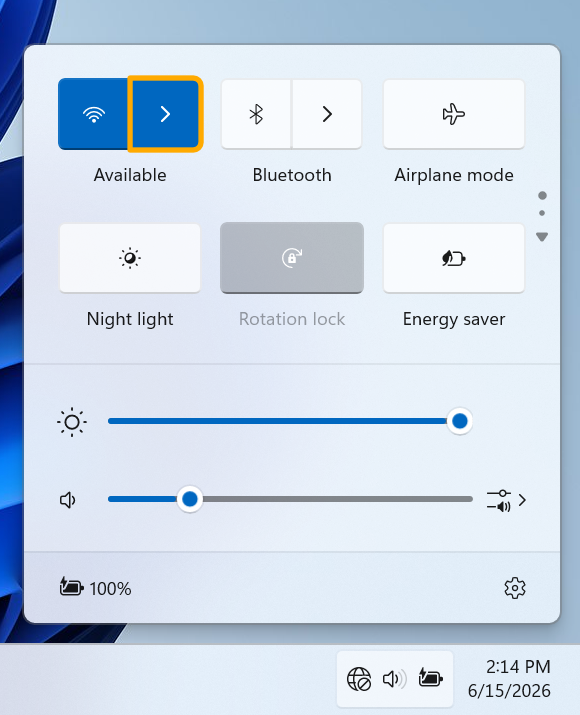
- Open Quick Settings by clicking on the taskbar area shown below.

- Click the arrow next to the Wi-Fi symbol.
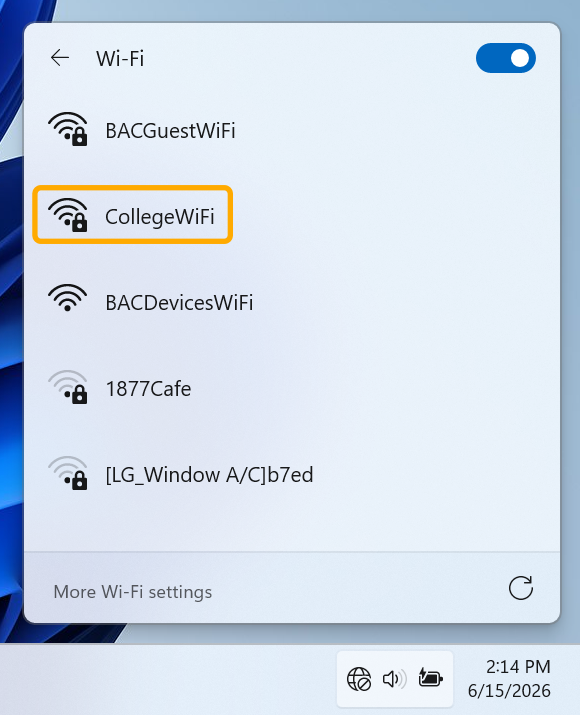
- Select CollegeWiFi.
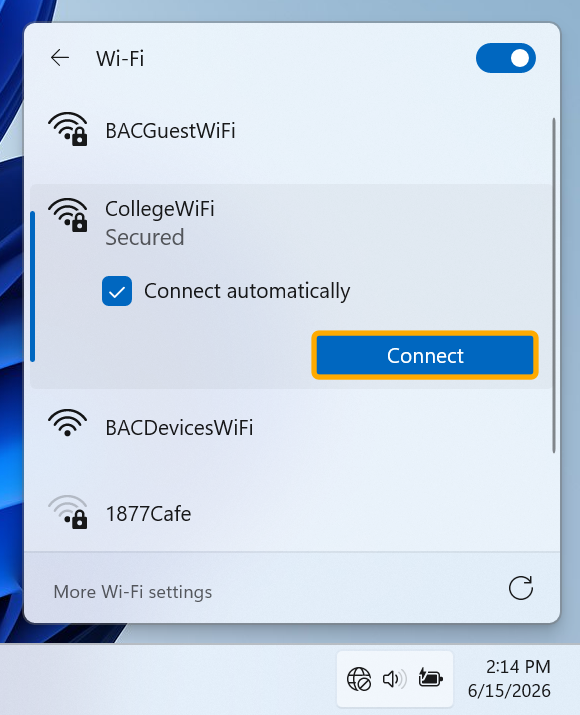
- Check Connect automatically then click Connect.
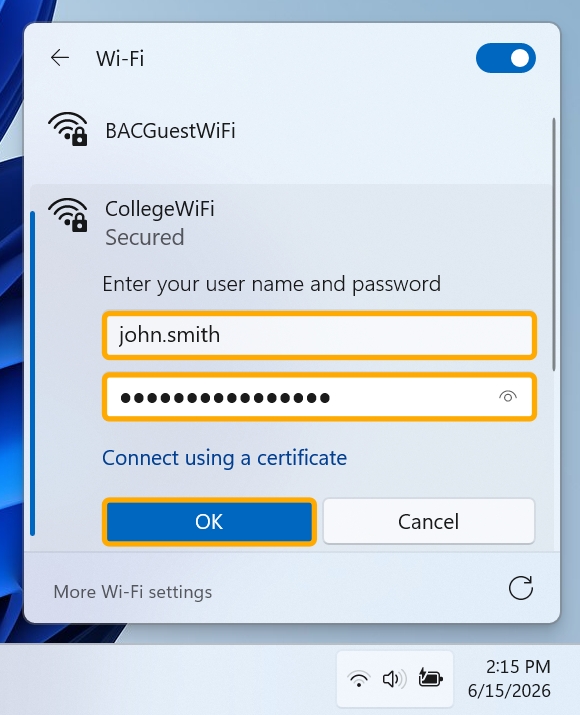
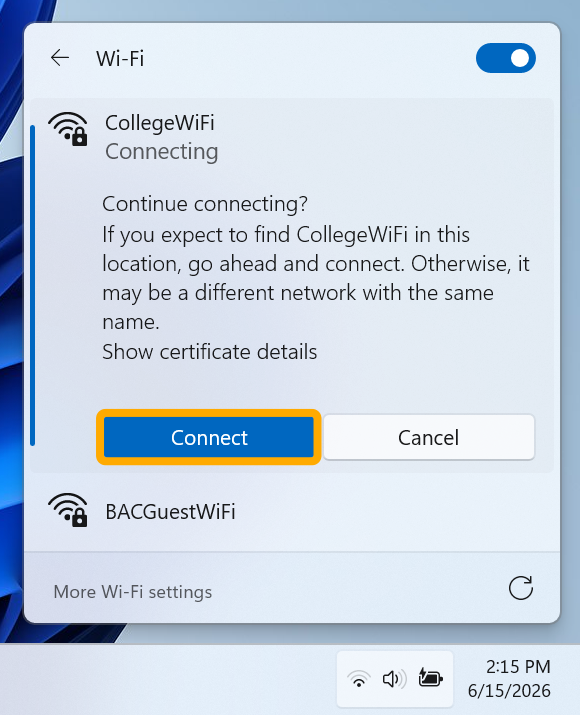
- Enter your campus username and password, then click Connect.
- Click Connect again on the Continue connecting? prompt.
You should now be connected. If not, contact the Helpdesk.
Manual Connection
Occasionally, Windows will encounter trouble with Wi-Fi certificates and will stop connecting to CollegeWiFi, even after forgetting and re-authenticating. In this case, setting up a connection manually can work.
- Open the Start Menu and search for Control Panel, then open it.
- Navigate to Network and Internet > Network and Sharing Center > Set up a new connection or network.
- Select Manually connect to a wireless network and click Next.
- Set up the wireless network information as shown below, then click Next.
- Network name:
CollegeWiFi - Security type:
WPA2-Enterprise - Check Start this connection automatically
- Network name:
- Click Change connection settings.
- Select the Security tab and set it up as shown.
- Security type:
WPA2-Enterprise - Encryption type:
AES - Choose a network authentication method:
Microsoft: Protected EAP (PEAP) - Check Remember my credentials for this connection each time I'm logged on.
- Security type:
- Select Settings to the right of the authentication method.
- Uncheck the box for Verify the server's identity by validating the certificate.
- Ensure Select Authentication Method is set to Secured password (EAP-MSCHAP v2).
- Click Configure… next to the authentication method box.
- Ensure Specify authentication mode is checked and select User authentication.
- Click Save credentials.
- In the Save credentials popup, enter your campus username and password then click OK.
- Click OK in the Advanced settings window.
- Click OK in the Wireless Network Properties Window.
You should now be able to connect to CollegeWiFi from the Quick Settings panel.
Android
Connecting to CollegeWiFi is slightly different between smartphone brands. If you cannot find analogous options to the steps below on your phone, please reach out to the Helpdesk.
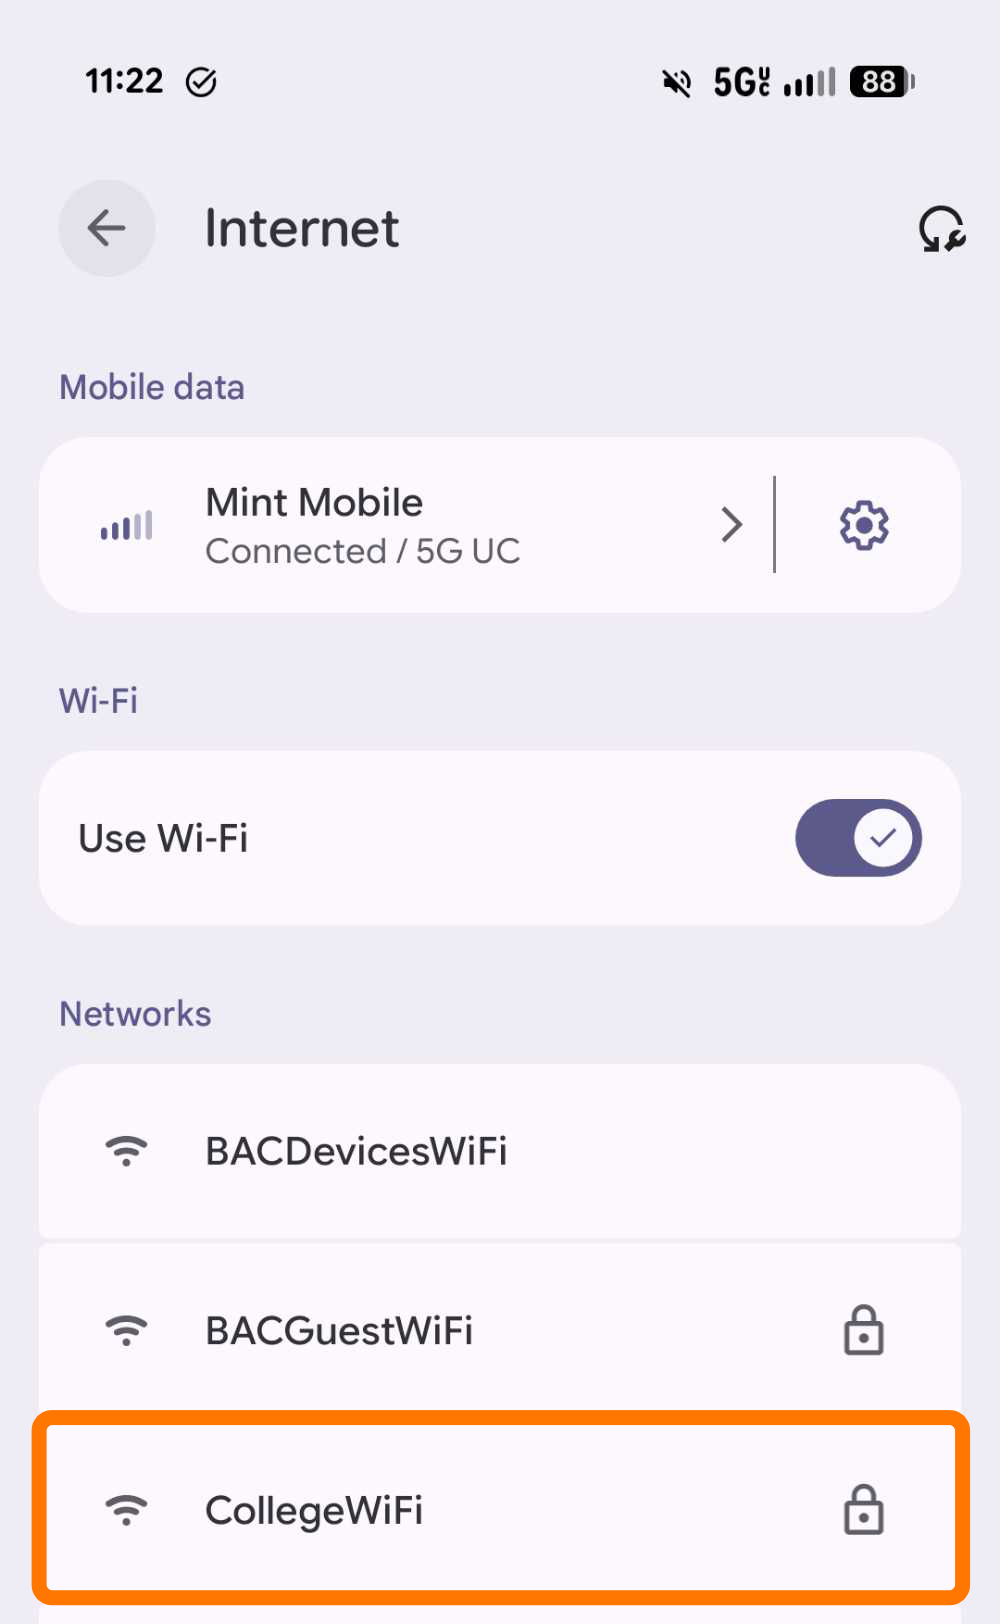
- Navigate to your Wi-Fi settings and select CollegeWiFi
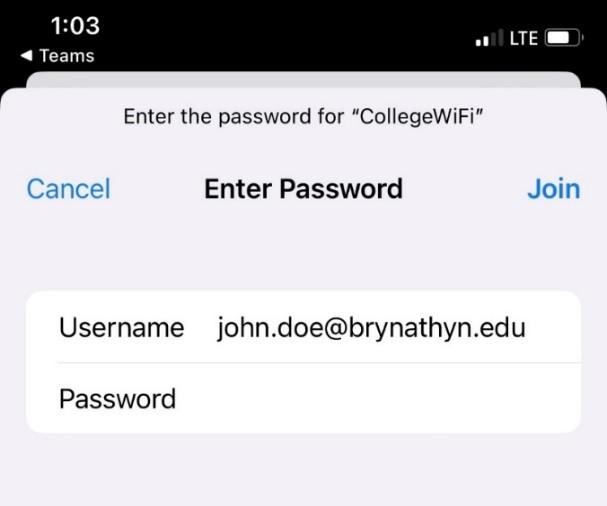
- Configure the credentials like in the screenshot below.
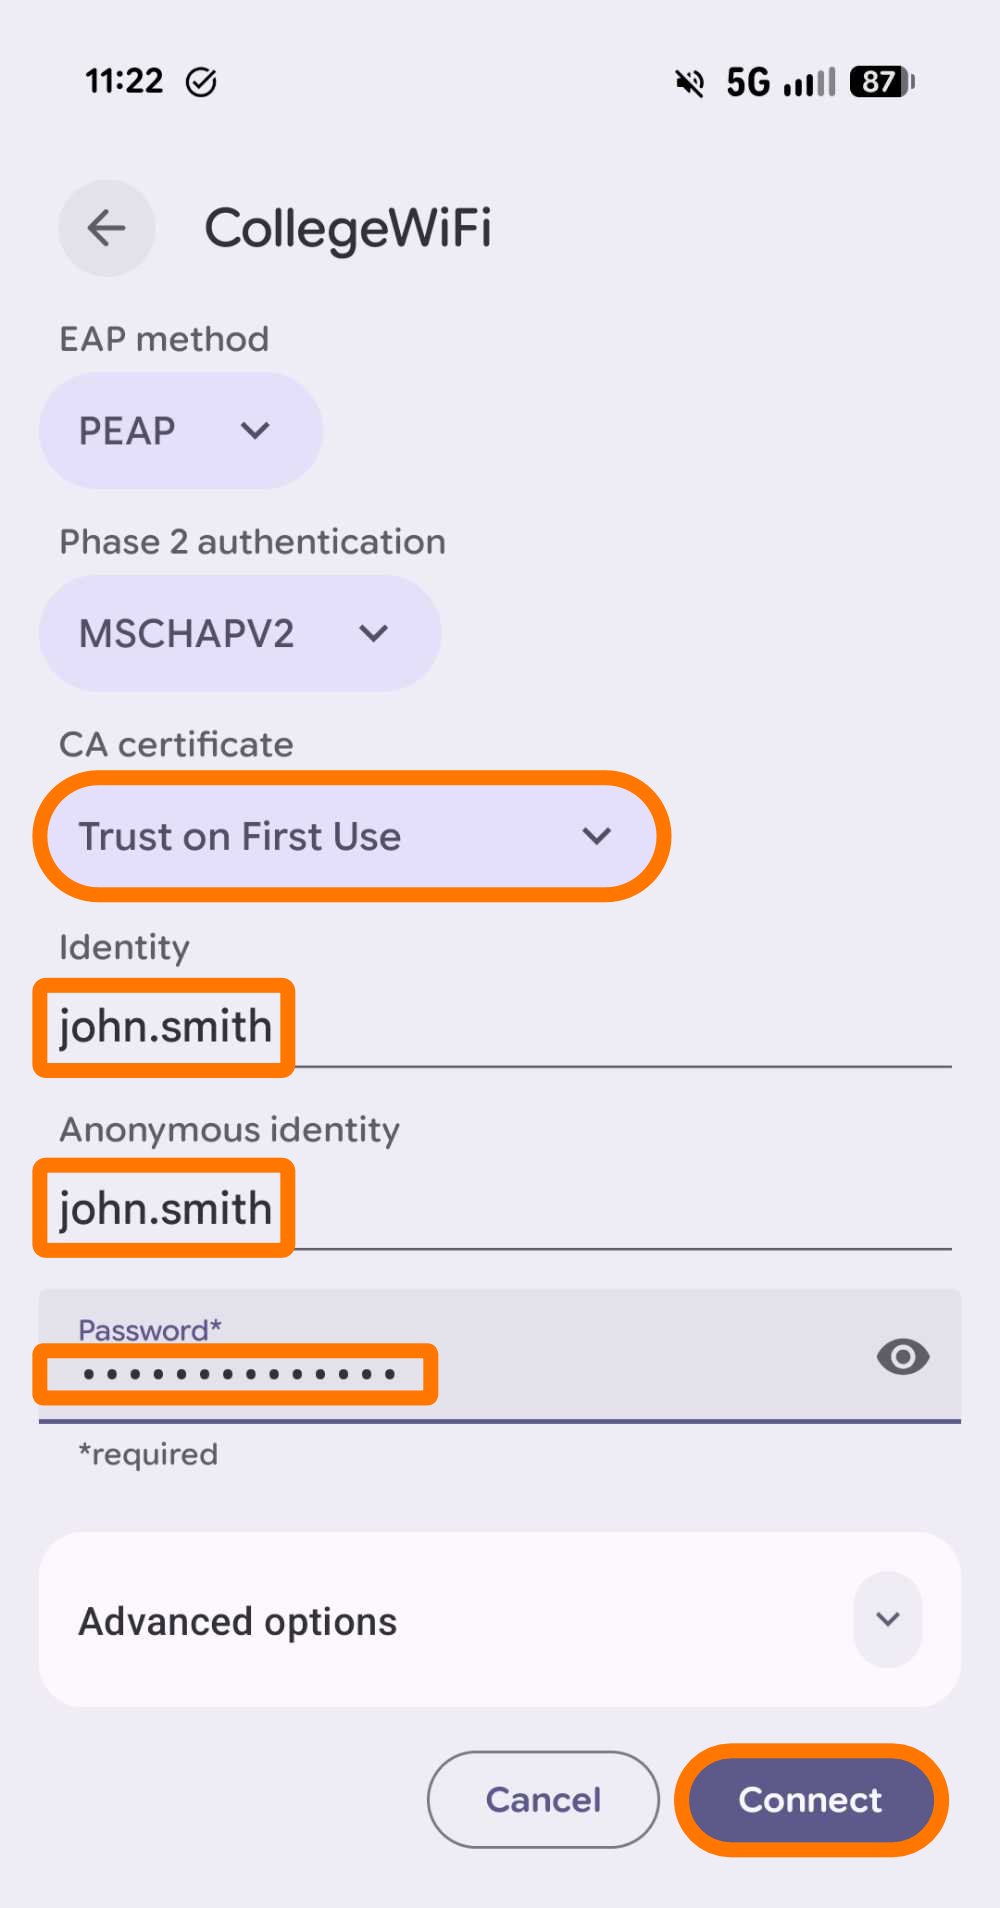
- Under the CA certificate drop-down, select Trust on First Use
- Enter your campus username in the Identity and Anonymous identity fields.
- Use your campus password in the Password field.
- Click Connect.
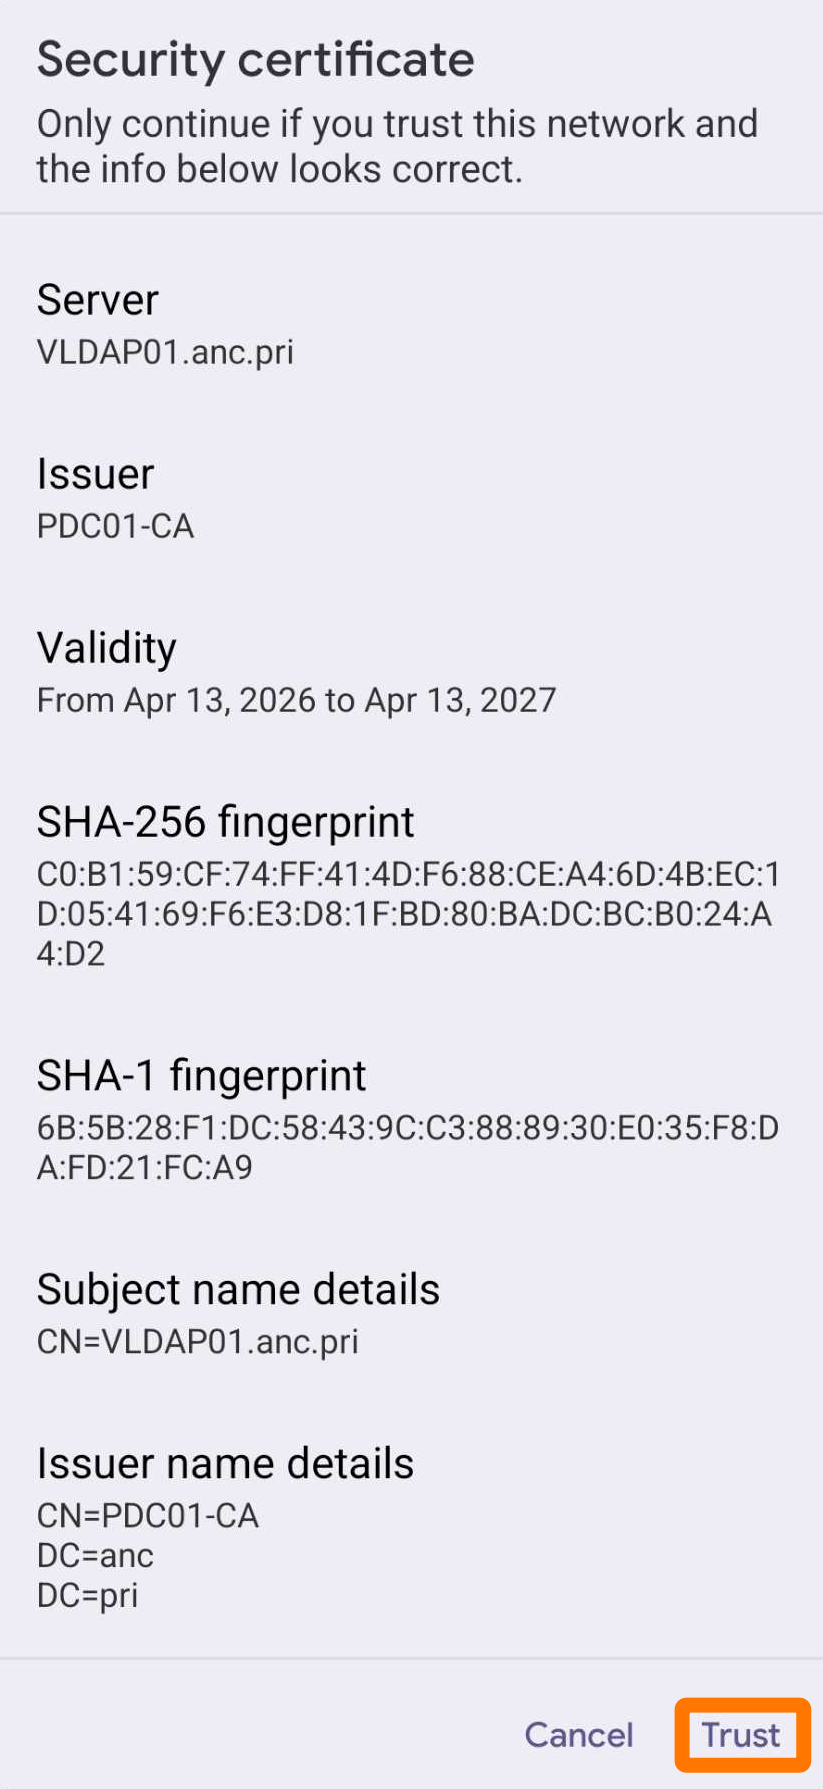
- If you see a Security certificate prompt, select Trust.


You should now be connected. If not, contact the Helpdesk.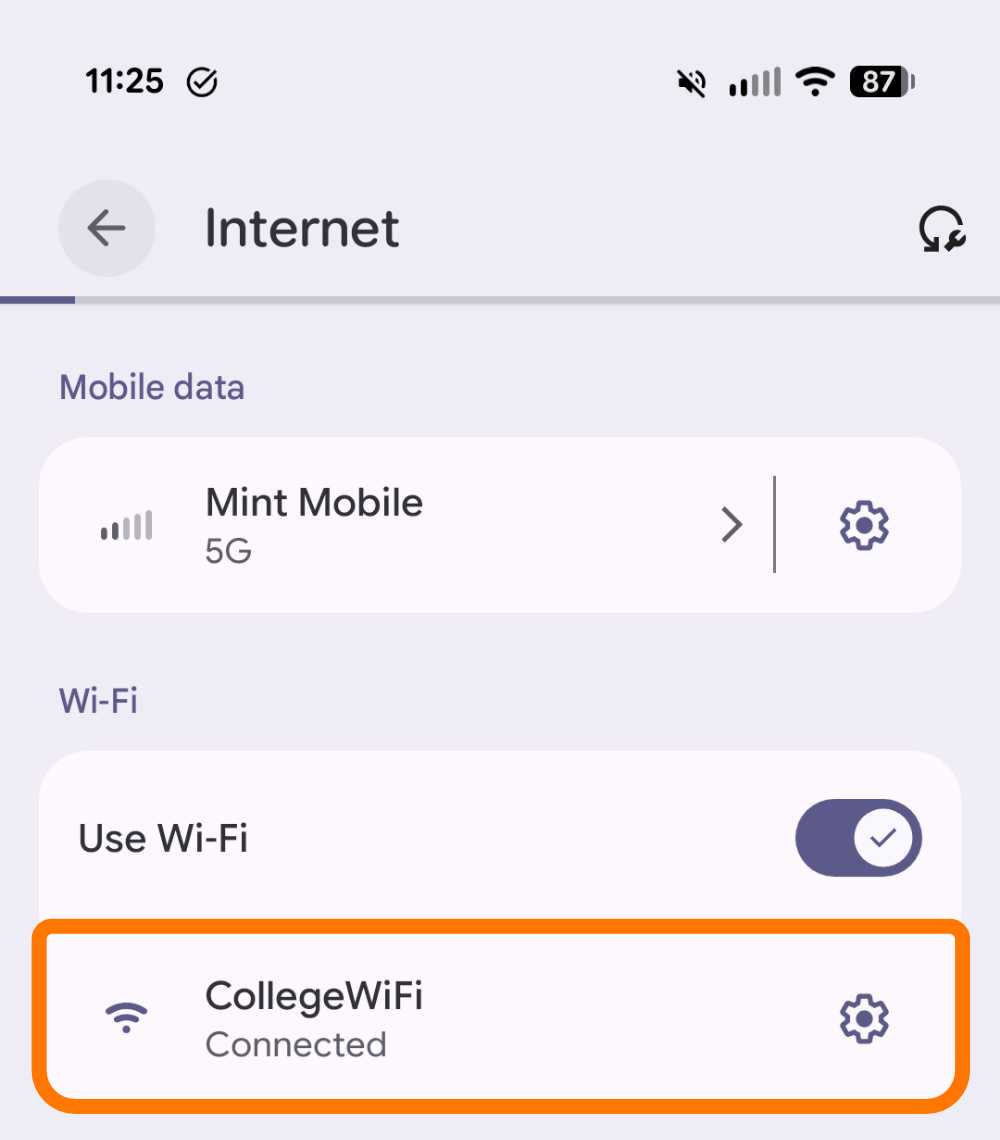
iOS
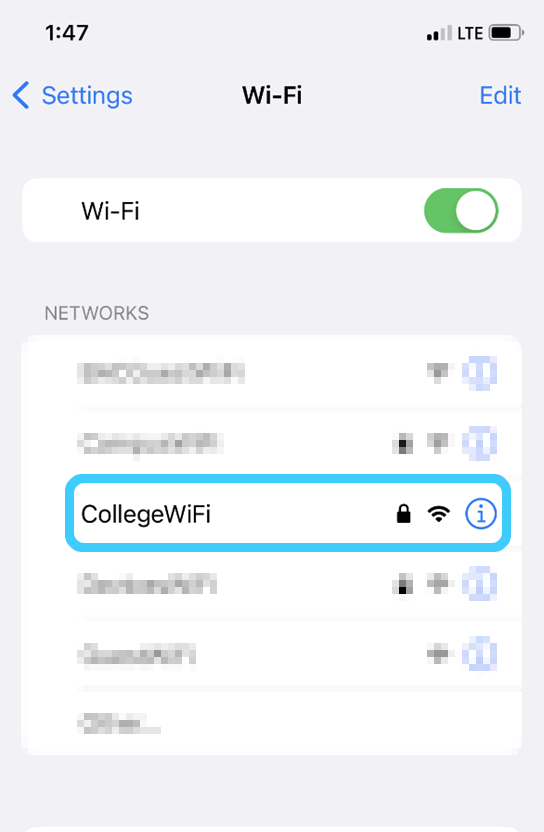
- Navigate to the Wi-Fi page in the Settings app.
- Select CollegeWiFi.

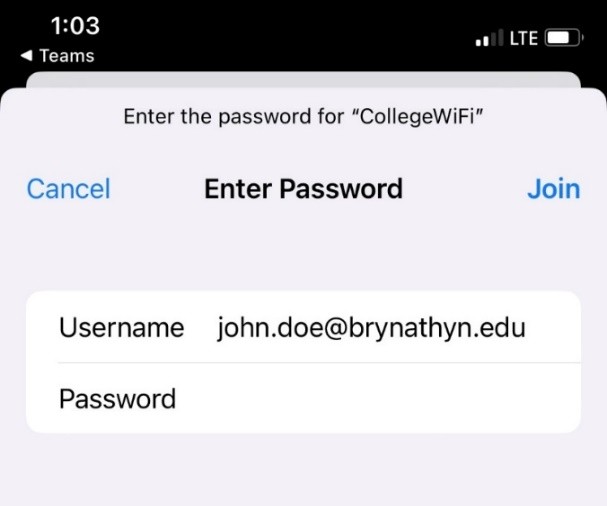
- Enter your campus username and password, then click Join.
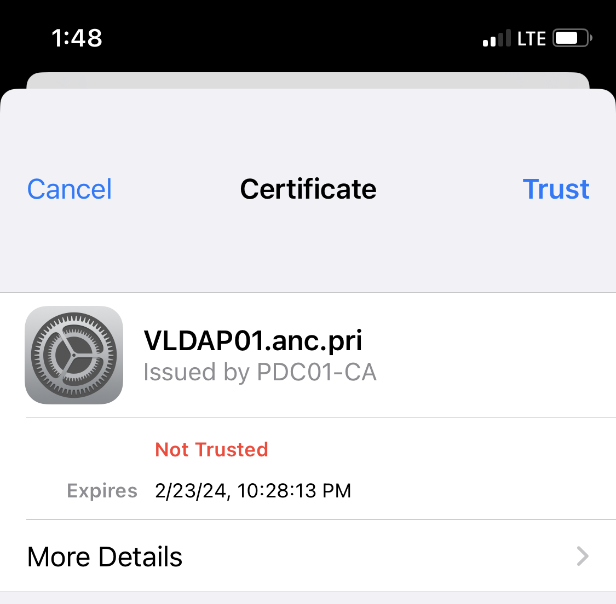
- Select Trust in the Certificate popup.

You should now be connected. If not, contact the Helpdesk.
MacOS
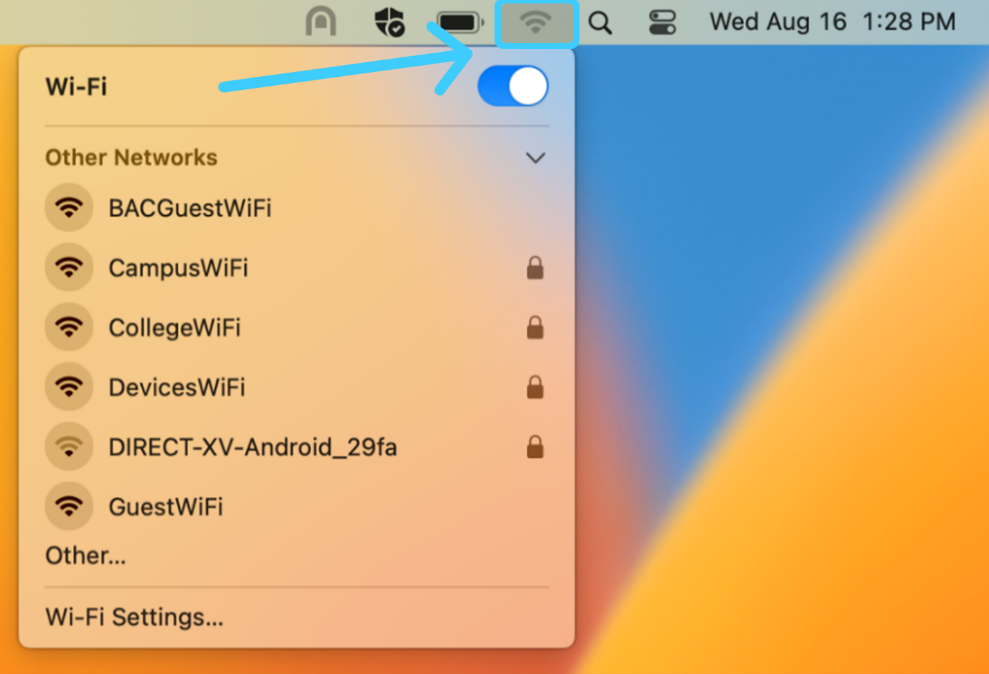
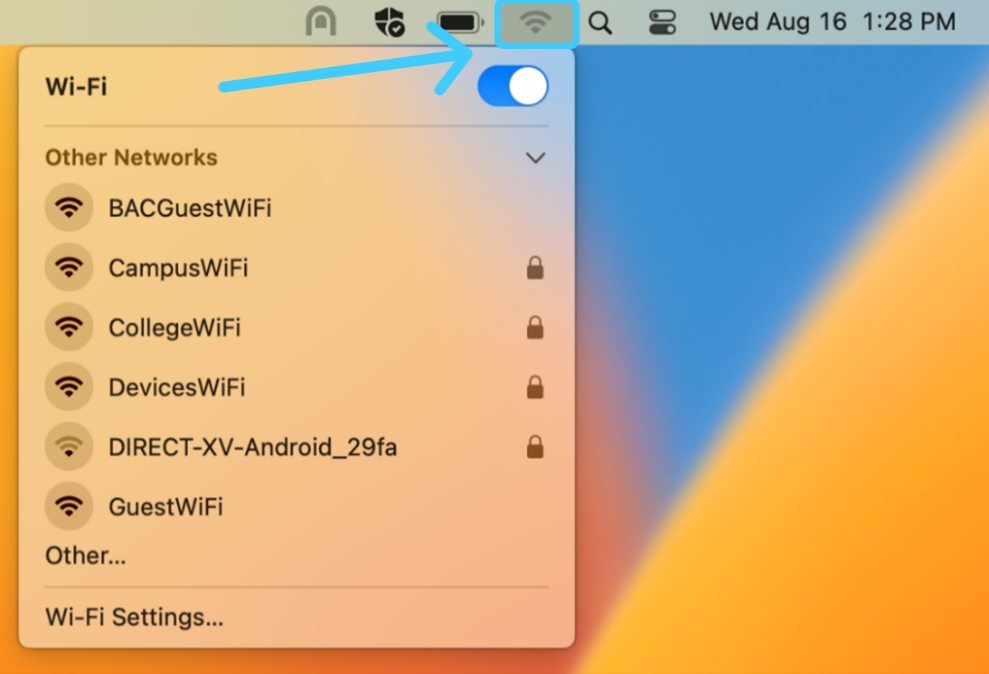
- Click the Wi-Fi symbol at the top right of the screen.
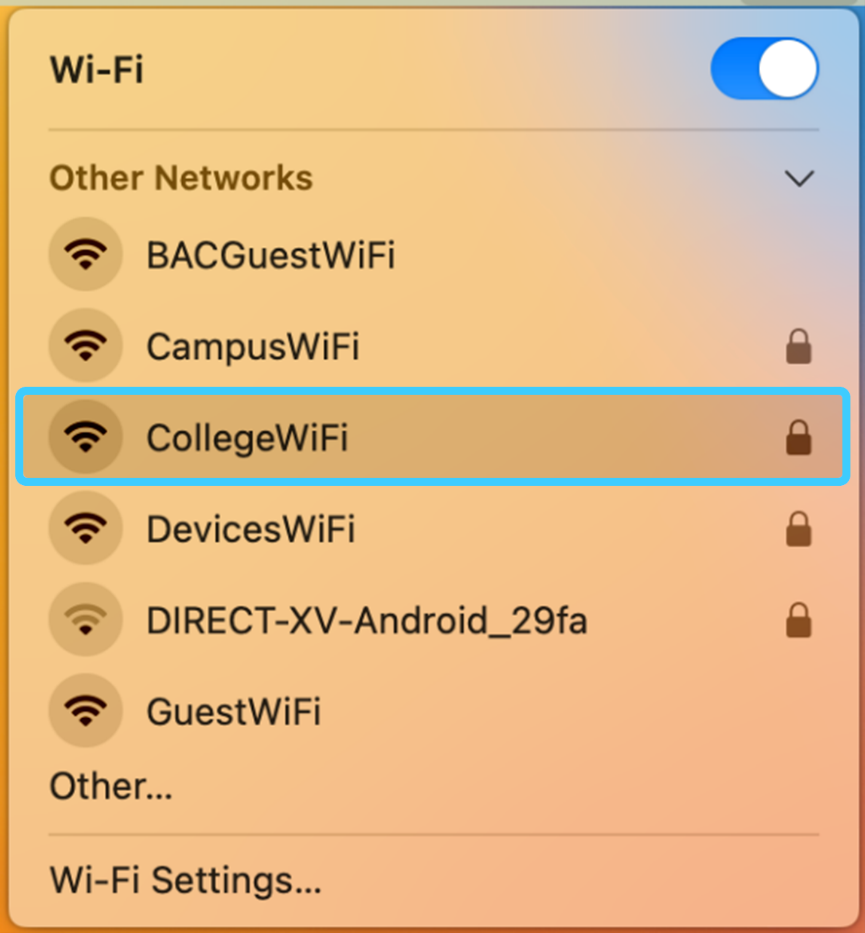
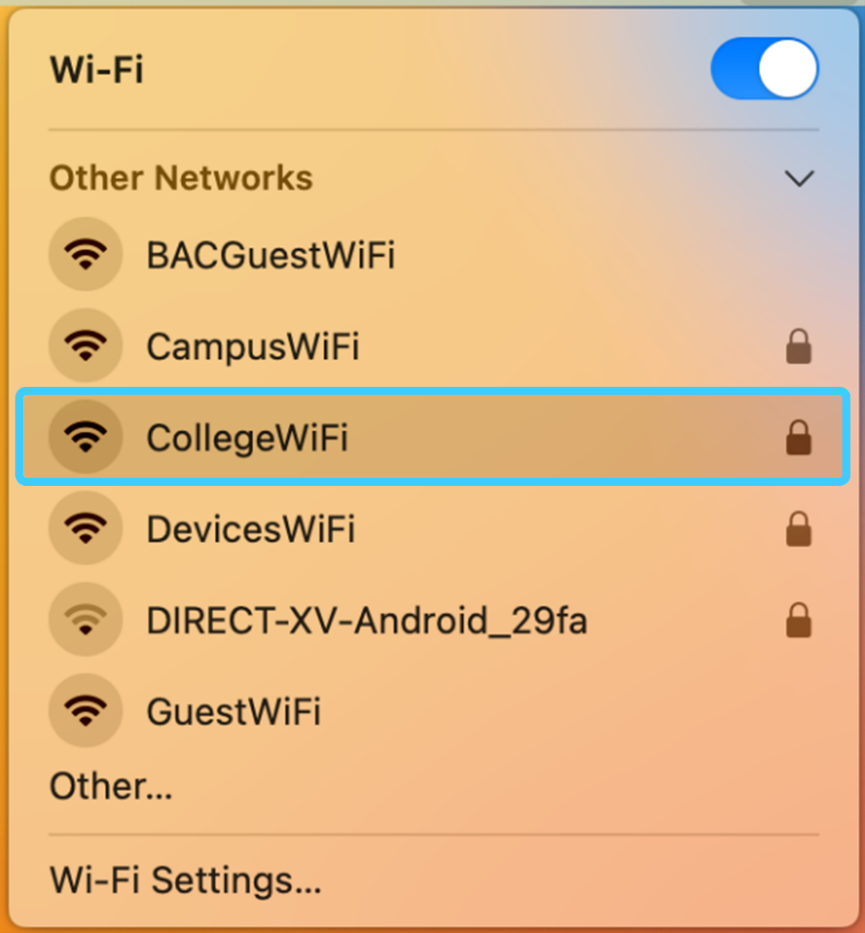
- Select CollegeWiFi
- Enter your campus username and password, then click OK.

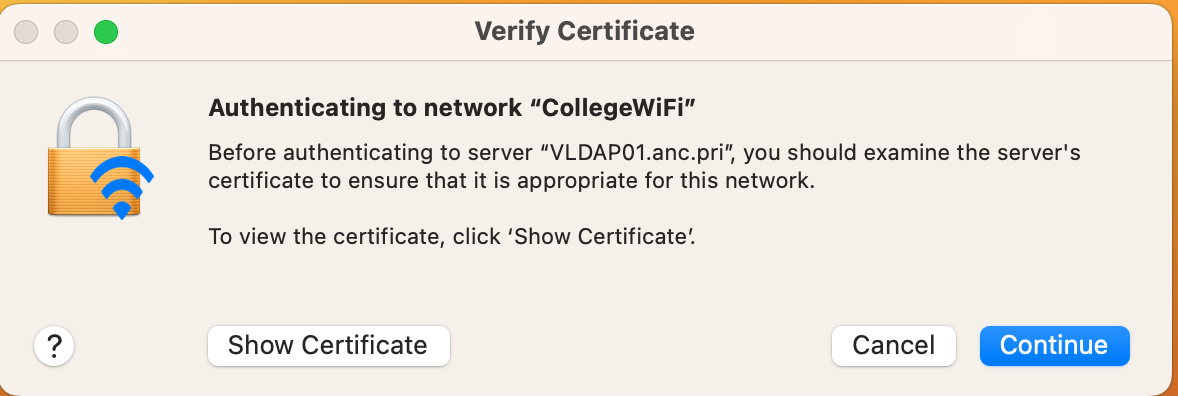
- Press Continue on the Verify Certificate popup and enter your computer's logon password or use Touch ID if necessary.


You should now be connected.