
Setting up your Microsoft Account
The first time you log in to your College Microsoft account, you will have to go through a few additional setup steps. This page will walk you through the process of getting your account ready to use.
- Go to login.microsoftonline.com.
- Enter your email and password, as received in your New Account email.
This process is explained slightly more in-depth in Logging in with Microsoft 365, just disregard step 6 in that page for now.
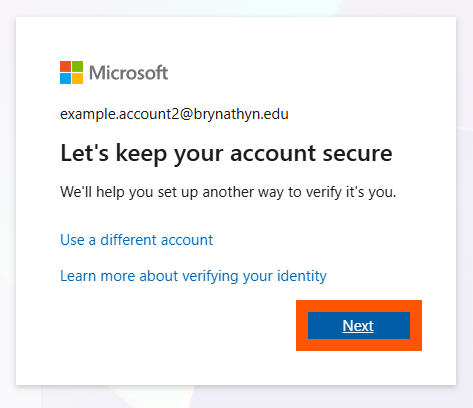
- Click Next on the prompt that appears.

- Install the Microsoft Authenticator app by searching the mobile app store the QR codes below.


- Follow the instructions provided on your computer, which will guide you through adding your account in the Authenticator mobile app.
- Once you have scanned a QR code to add your account, click Next.

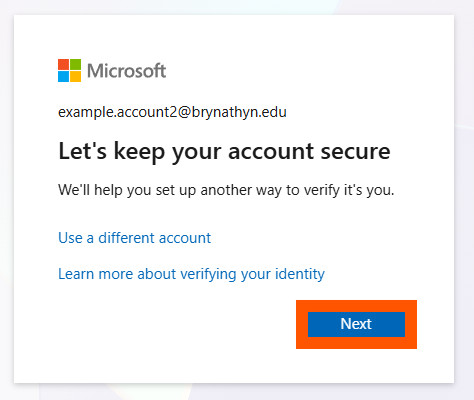
- Begin setting up a second method of verification by clicking Next.

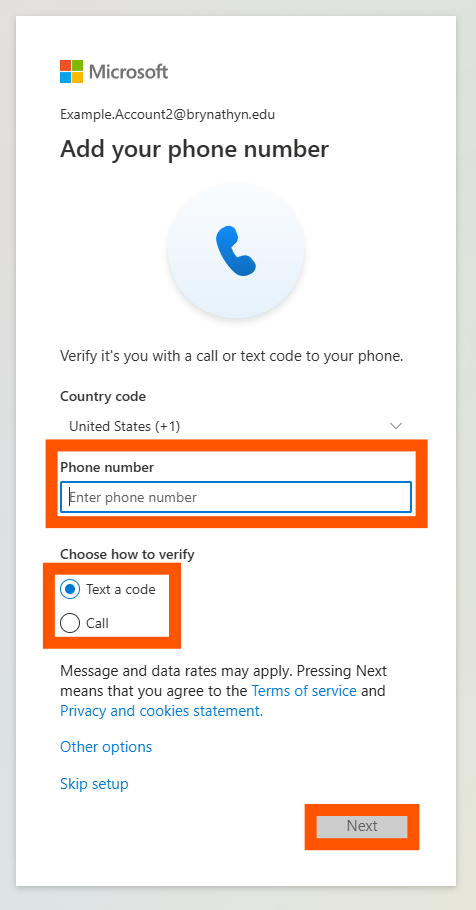
- Enter your phone number and change the Country code if necessary. You can choose either call or text to receive a verification code. Click Next.

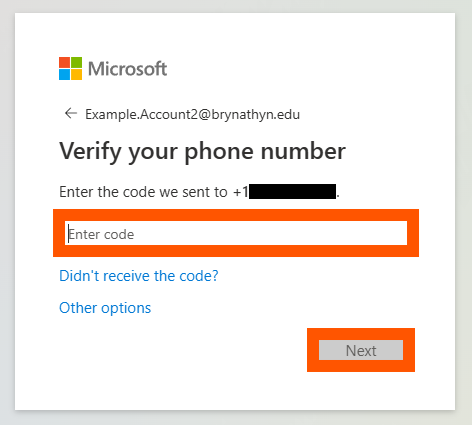
- Enter the code you received, then click Next.

- Click Done, then click Done.


You're done setting up Multi-Factor Authentication for your account, but there are a couple more things to do. Refer to the instructions below to finish the last steps of the process.
- Change your password from the temporary one to one of your choice. Follow the instructions in the page Resetting your Password.
This is absolutely required, as Helpdesk technicians will continue to have access to the temporary password you were sent.
- Install the suite of Microsoft 365 desktop applications. Follow the instructions in the page Installing Microsoft 365.